Canningvale Cares Part 2: Upcycling keeps the love alive
16th Feb 2022
When love has run its course and you’re ready for your last goodbye, we have some tips and tricks to help you cut down on waste and keep the love alive with these easy upcycling projects.
Pretty Boxes
If your storage boxes are not sitting pretty with you, @eversohomely has some tips to beautify boring boxes to make storage less of a chore.
You will need:
- An old Canningvale flat sheet
- Storage box
- Scissors
- Iron
- Fabric glue or double-sided tape
- Wooden bar
📸 by @jordhodges featuring our Alessia Bamboo Cotton Robe & Alessia Cotton Bamboo Pyjama Shorts
🎥 by @eversohomely
Instructions:
- Lay out your pre-loved Canningvale linen on a flat surface.
- Put your storage box in the centre of the material.
- At each corner of the box, cut the material so that each side of the box has a section of material that can fold over the top and be secured inside the box. It should look like a cross when all the cuts are made (you’re removing a square from each corner).
- Iron the material so that it lays flat.
- Fold the material over the box and fasten with fabric glue or double-sided tape.
- Take a small wooden bar and secure onto the side of the box to form a handle.
- You’re all done!
No-sew headband
Let’s face it – some of our textiles are catwalk-worthy. So when your sheets or quilt cover have had a little too much love and are ready to leave the bedroom and venture out into the world, why not turn them into this simple no-sew headband?
You will need:
- Your old Canningvale sheets, quilt cover, or pillowcase
- Scissors
- A marker
- A ruler
- Fabric adhesive
Instructions:
- Measure then cut one 18cm x 64cm strip (this will create a medium-sized headband) from your pre-loved Canningvale product. We've chosen to use some offcuts from our Beautysilks collection.
Handy hint:
- For kids, reduce the length by 8cm and width by 2.5cm.
- For a larger adult side, add extra 5cm to the length of your fabric.
- Next, measure and cut a 8cm x by 18cm strip.
- Glue the two sides of the 18cm x 64cm strip together. Let the glue dry completely before you move on.
Handy Hint:
- If you prefer to sew, you can sew the two sides together using a zigzag stitch.
- Fold so that the glued (or sewn) portion of the fabric is inside the headband.
- Glue one end of the 8cm x by 18cm strip to the outside (covering the glued, or sewn, section of the fabric).
- Wrap the smaller fabric around the glued (or sewn) seam to form a knot. Secure the other side with the fabric glue. Leave the glue to dry.
- Secure the cut edges inside the headband (making it skinner) with fabric glue. Leave the glue to dry completely.
Handy Hint:
- Prefer to stitch? No problems – you can secure the knot by hand stitching.
- All done! You now have a funky new headband to take out on the town!
Shopping Bag
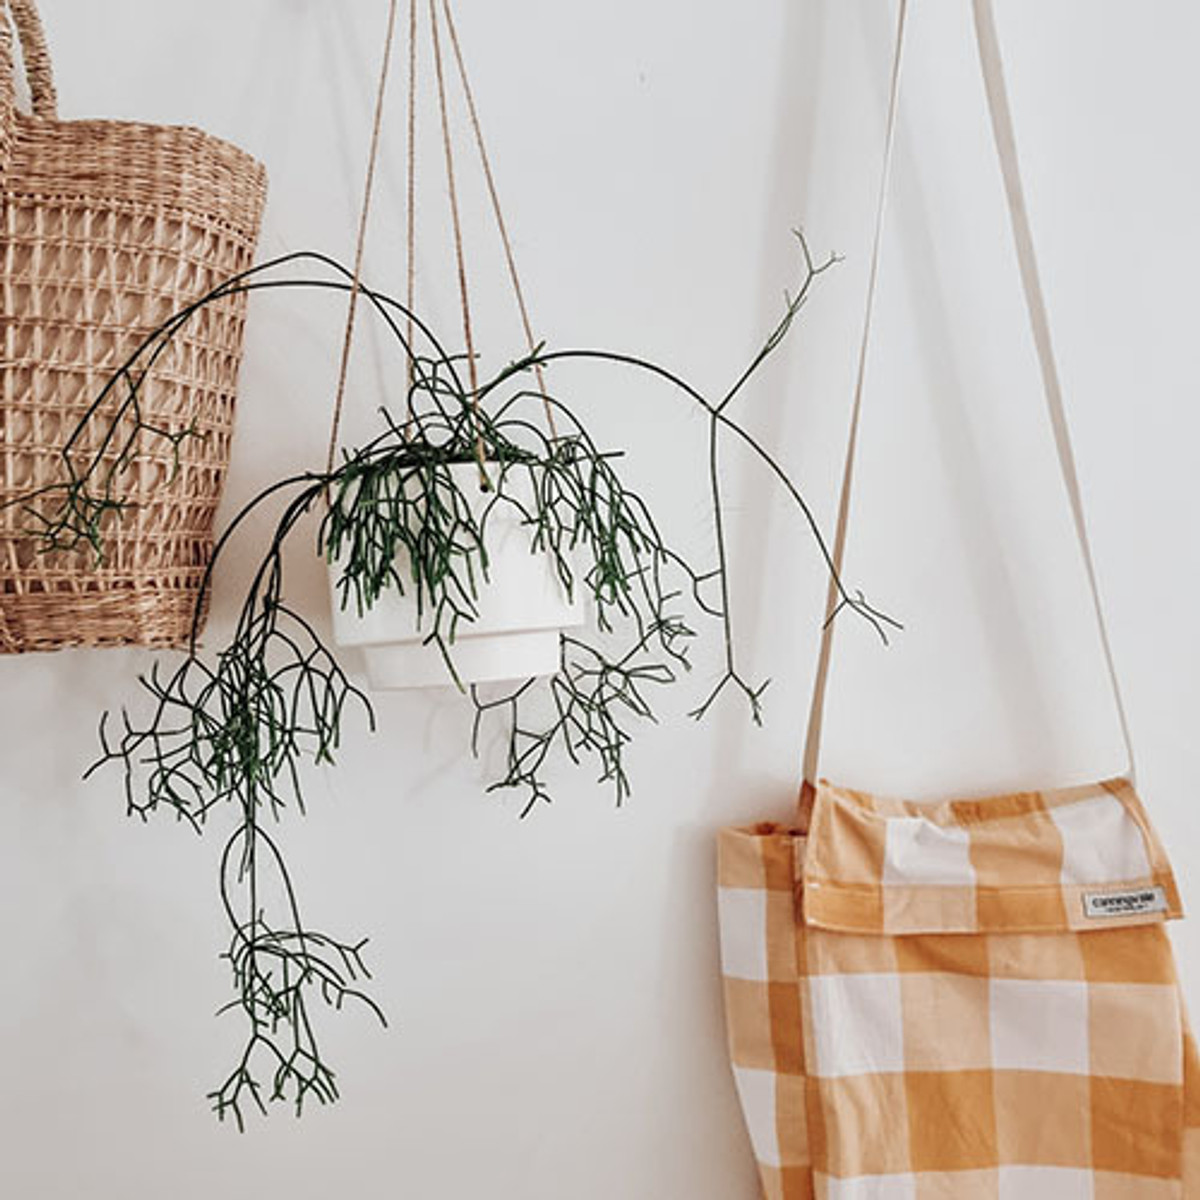
Searching for a BFF who’ll never get tired of shopping with you? Then check out how @eversohomely has fashioned one of our Modella fabric bags (recycled from offcuts at the factory) into a neat little shopping bag.
You will need:
- Your Canningvale fabric bag
- A length of fabric or elastic (enough length to form the strap)
- Scissors
- Fabric adhesive or a hot glue gun
📸 by @eversohomely
🎥 by @eversohomely featuring our Modella Collection
Instructions:
- Remove your Canningvale linen from the fabric bag.
- Take your fabric or elastic and cut the desired length to form your strap.
- Use fabric adhesive or a hot glue gun to fasten your strap to either end of the fabric bag.
- You’re all done and are ready to shop!
Remember you can always donate what you’re not upcycling! Be sure to share all your creations with us @Canningvalelove

 Bedroom Clearance


 Australian Dollar
 New Zealand Dollars
 US Dollars
